Step-by-step tutorial
Making a Velvet Diaper Bag: A Step-by-Step Tutorial
Published 13 July 2026 · 8 min read · LittleEva.in Workshop, Kannur, Kerala
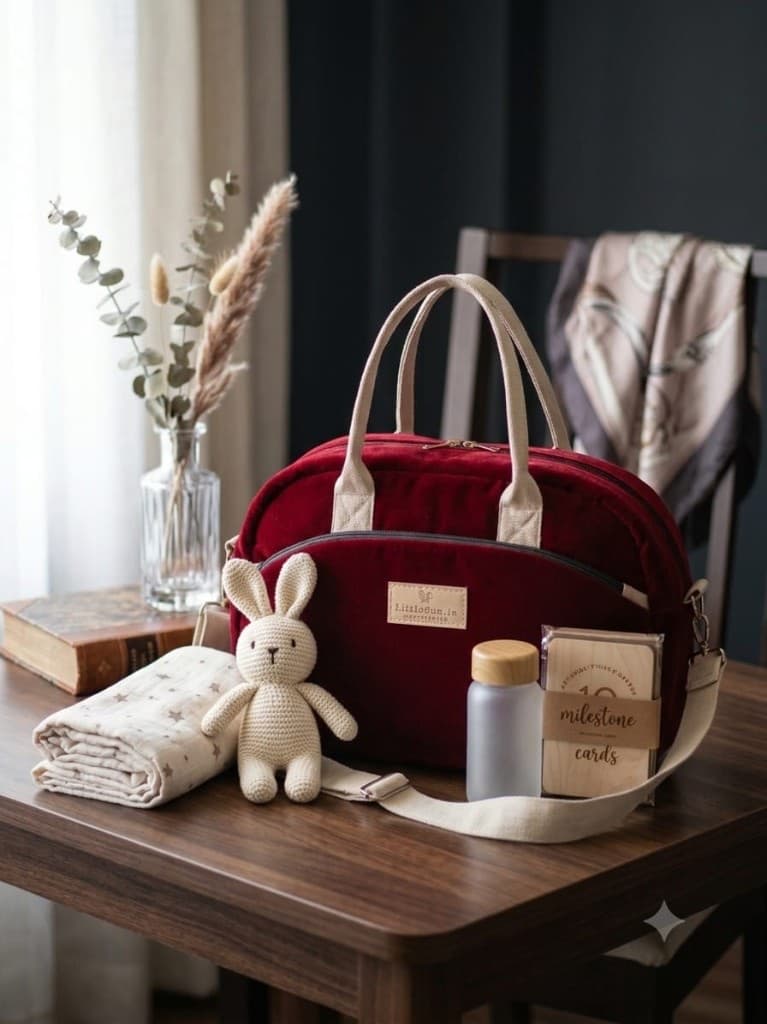
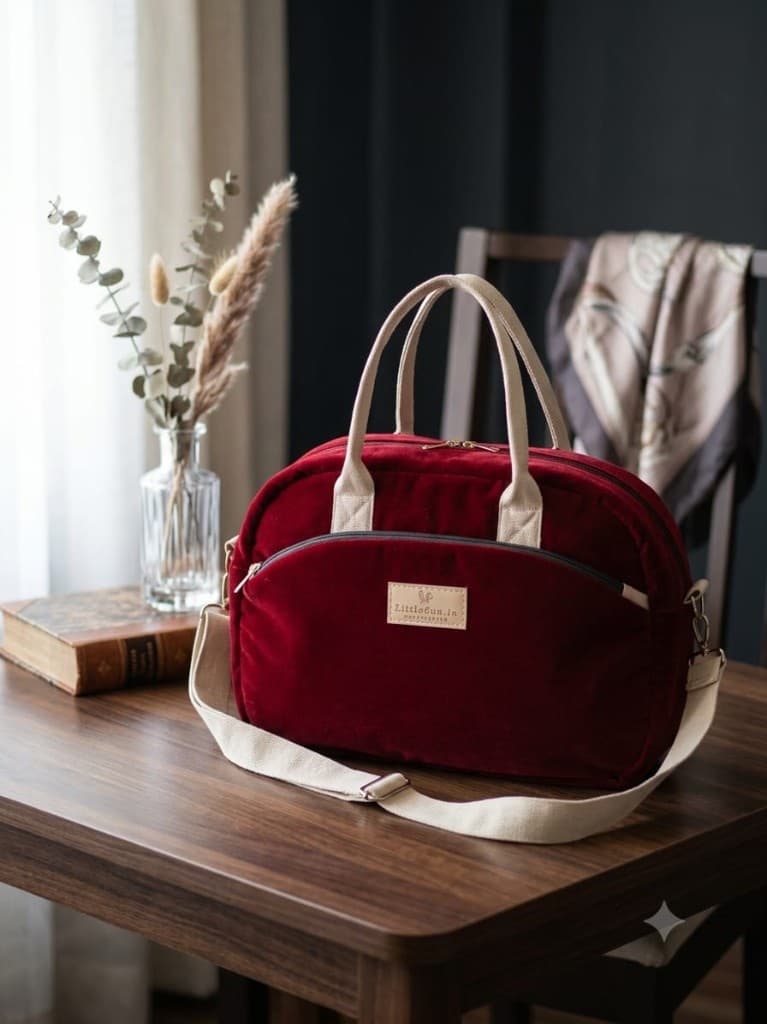
This burgundy velvet diaper bag is one of our favourite recent makes — soft and padded like a cushion on the outside, but organised like a toolbox on the inside. A new mother in Kochi asked for a bag that "does not look like a diaper bag", and this is the result: rich velvet, cream webbing handles, a curved front zip pocket, and a detachable crossbody strap for hands-free days.
In this tutorial we walk through exactly how it was made, step by step, with photos of the actual bag from our worktable. If you would like one made in your own colours, every step below can be customised — start a request in our bag designer or message us on WhatsApp.
Watch the bag come together
A short video from our workshop showing this exact bag being made — from cutting the velvet to the final stitch.
What goes into this bag
- Burgundy velvet for the outer body (heavier upholstery-weight velvet holds shape best)
- Cotton lining fabric, plus one layer of firm foam interfacing per panel
- Cream cotton webbing - two handle lengths and one long crossbody length
- Two zips: a long top zip for the main opening and a shorter one for the front pocket
- Adjustable slider, two swivel clips, and two D-rings for the detachable strap
- Leather label, matching thread, chalk, shears, and clips (pins mark velvet, clips do not)
1Plan the size around real baby gear
A diaper bag succeeds or fails on capacity, so we do not start from a pretty shape — we start from the contents. Before drawing anything we lay out what the bag must swallow: a folded changing mat, a day's diapers, a wipes pack, two bottles, and a change of clothes.
For this bag that gave us a body of roughly 40 × 30 cm with a 12 cm deep gusset — wide enough for the mat to lie flat, deep enough for bottles to stand upright. The curved front pocket was sized to hold the things you grab most: wipes, keys, and a phone.
2Make the pattern and cut the velvet
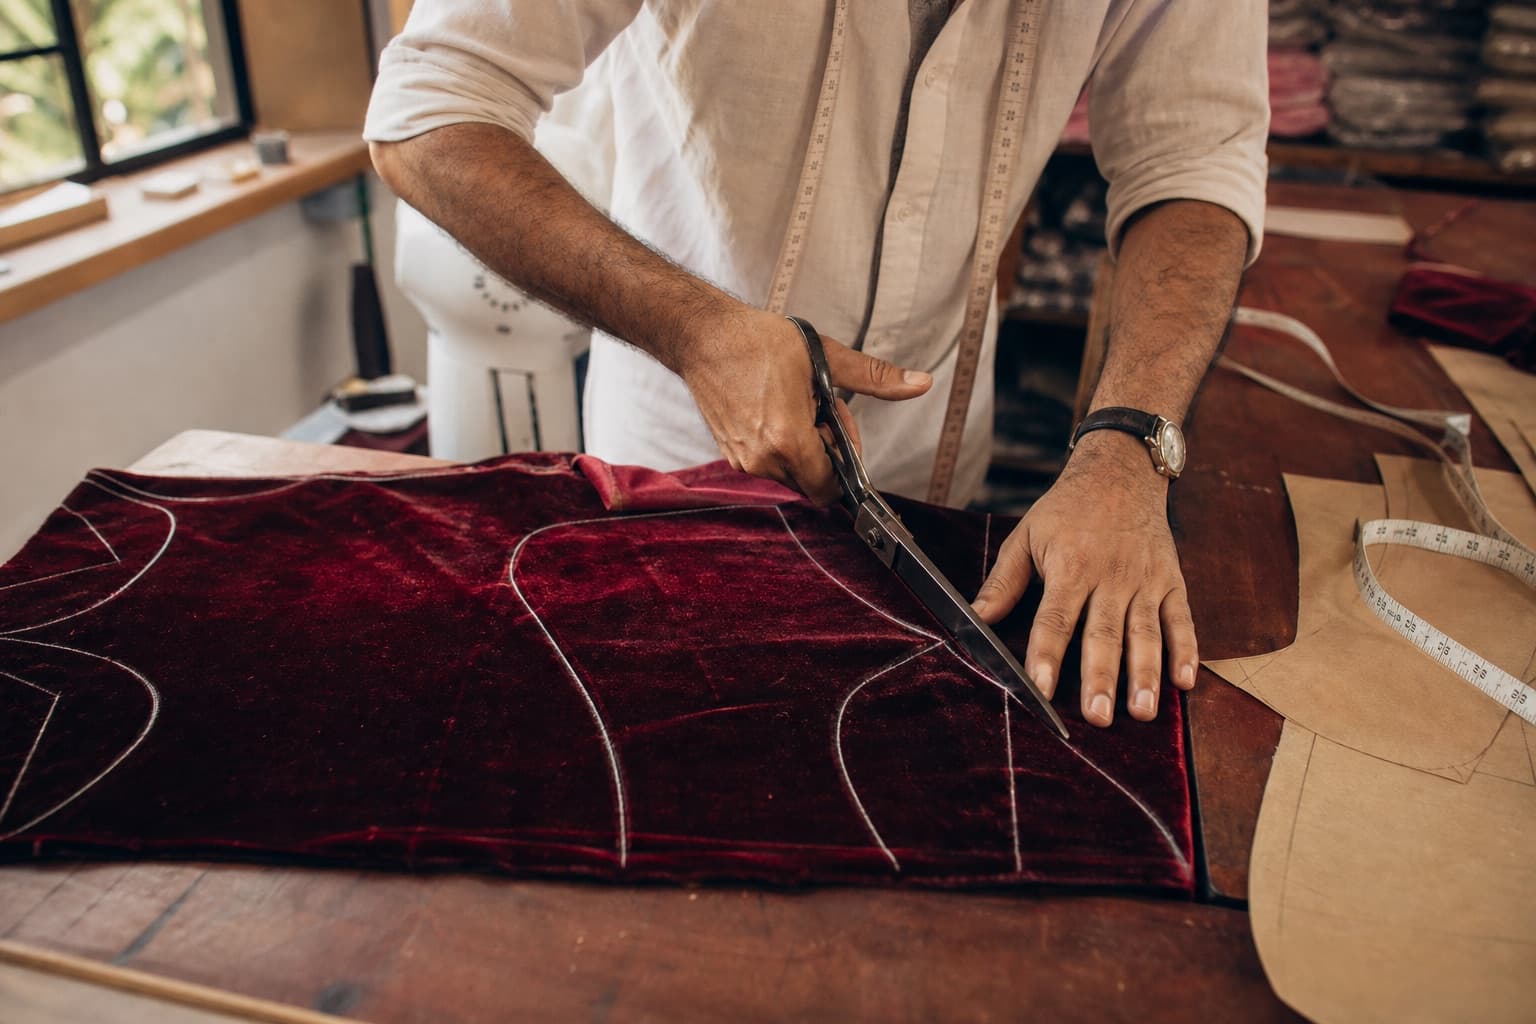
The rounded-rectangle body, the curved pocket, the gusset, and the base are each drawn as paper patterns. Velvet demands two extra rules at the cutting table. First, every panel must be cut with the pile running the same direction — velvet catches light directionally, and mixed panels will look like two different reds. Second, we mark with chalk on the back and cut with long, smooth strokes, because velvet frays and crushes if handled roughly.
The same patterns are used to cut the lining and a layer of firm foam interfacing for every outer panel.
3Pad the panels
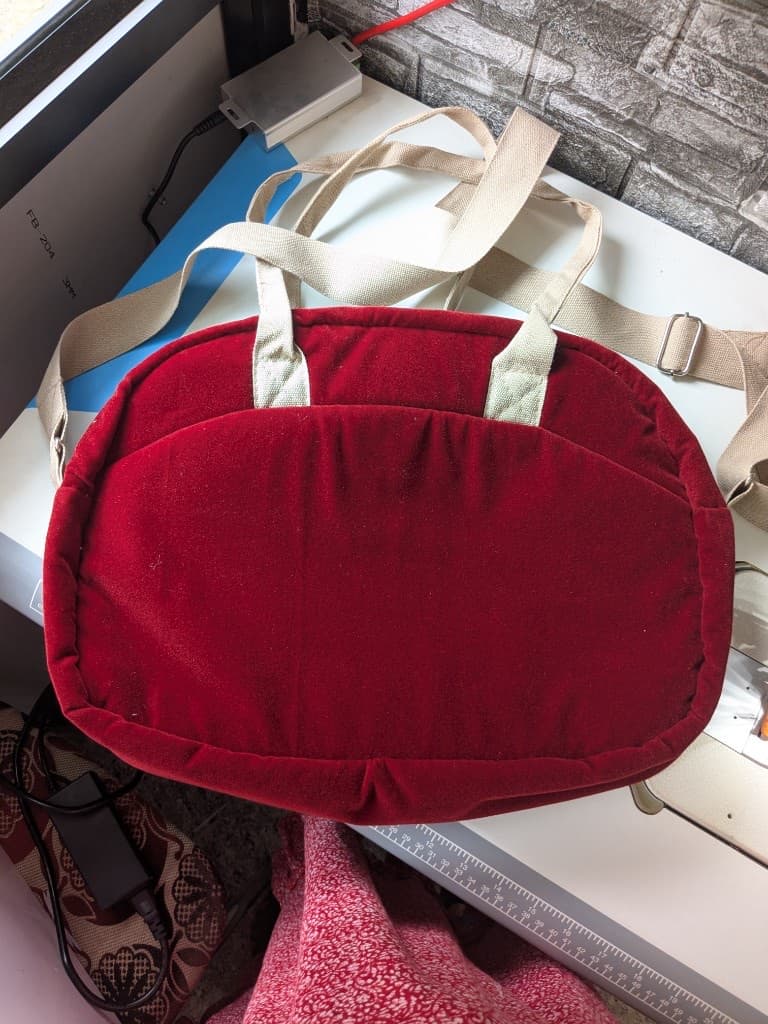
This is what makes the bag feel like a soft cushion. Each velvet panel is backed with foam interfacing and basted around the edge so the two layers behave as one. The foam does three jobs: it gives the bag its plump, rounded silhouette, it lets the bag stand up on its own, and it cushions bottles and glass jars inside.
You can see the padded effect clearly on the back panel below — the gentle pillowed edge is the foam, quilted in place by the seam that runs around the perimeter.
4Sew the curved front zip pocket
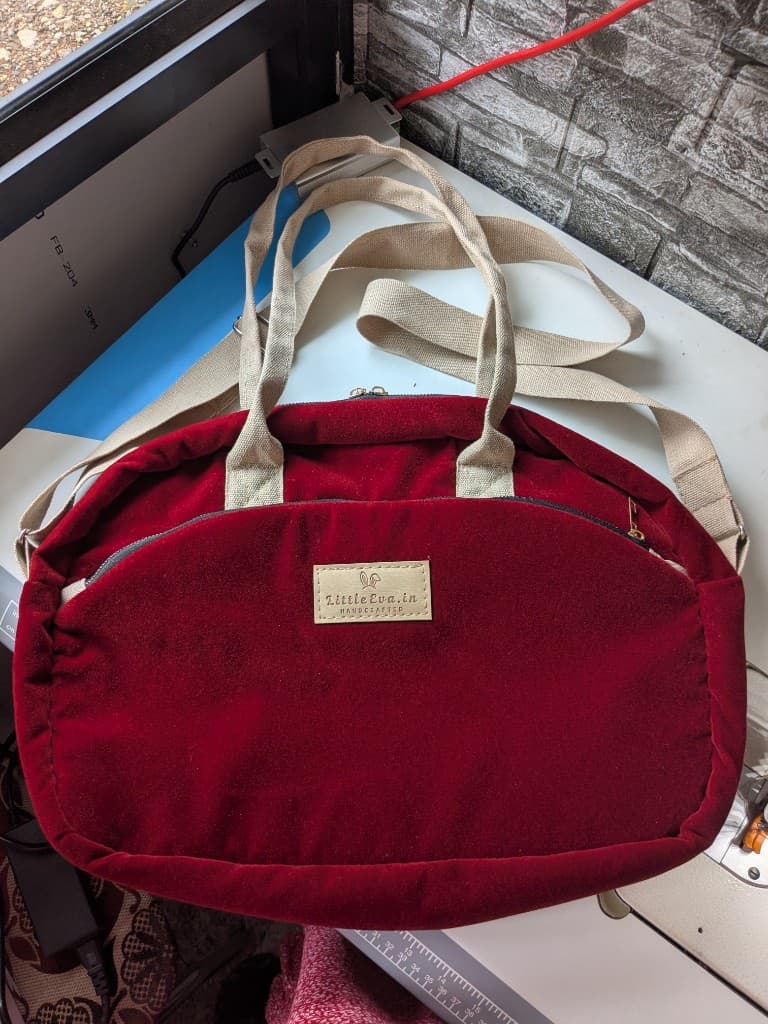
The front pocket is the signature of this design — a full-width curved pocket with the zip set right into the curve. It is sewn while the front panel is still flat: the zip is first stitched between the pocket piece and a facing strip, then the whole pocket is topstitched onto the panel following the chalked curve.
Sewing a zip along a curve on velvet is slow work. We shorten the machine stitch, use a zipper foot, and ease the tape around the curve a few centimetres at a time so the pocket lies flat without ripples.
5Attach the handles and strap hardware
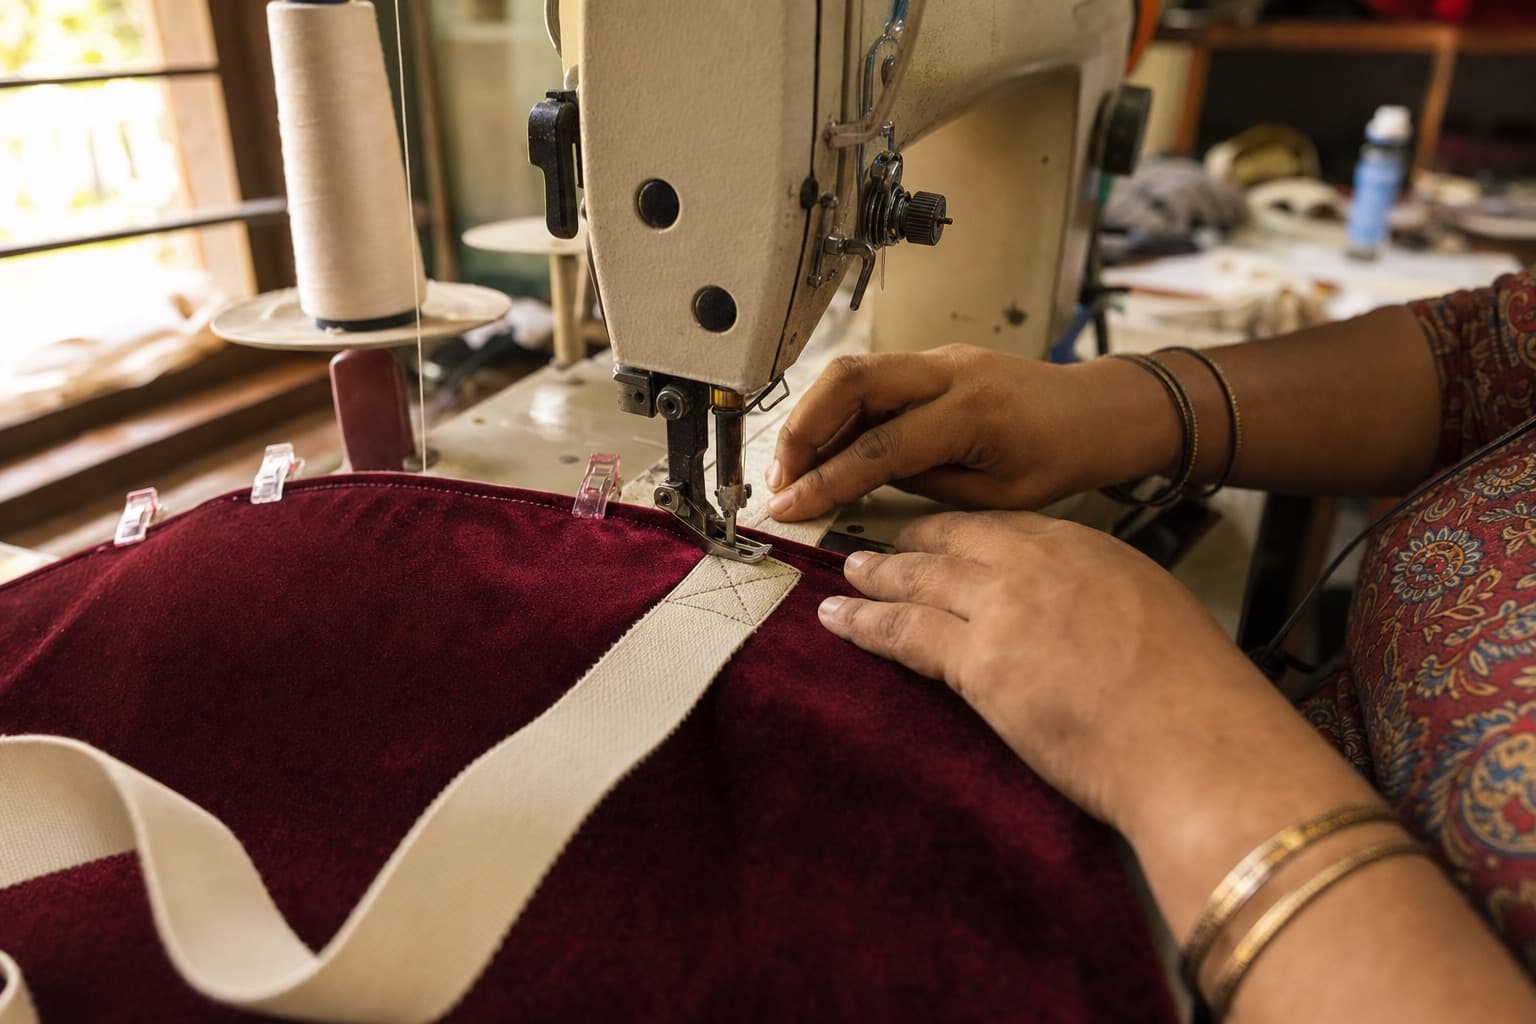
The twin handles are cream cotton webbing, cut to a drop that clears the shoulder even in a winter jacket. Each handle end is stitched to the panel with a box-and-cross pattern — the strongest join for webbing — before the body is assembled, so the stitching is anchored through both velvet and foam.
For the detachable crossbody strap, two D-rings are stitched into the side seams. The long strap gets an adjustable slider and a swivel clip at each end, so it can be removed entirely when the bag rides on a stroller.
6Assemble the body and set the top zip
With both panels finished flat, the three-dimensional work begins. The front and back are joined to the gusset with clips (never pins on velvet — they leave permanent marks), sewn, and the curves notched so they turn smoothly. The top zip is sewn into its own narrow panel first, then that panel is set into the top opening, which is far easier than fighting the zip around the corners of an assembled bag.
7Add the lining and inner pockets
The lining is where a diaper bag earns its keep. Ours is a full cotton lining sewn as a second, slightly smaller bag, with elastic-topped bottle pockets on one side and a flat zip pocket for valuables on the other. The lining is dropped into the shell wrong sides together and hand-slip stitched around the top zip tape, so no raw edge is visible anywhere inside.
8Finish with the label and quality check
Last come the finishing touches: the stitched leather LittleEva.in label on the front pocket, a final press with a velvet board so the pile is not crushed, and our standard checks — every seam inspected, both zips run end to end twenty times, and the handles loaded with more weight than a full bag will ever carry.
9The result
Packed and styled, it simply reads as a beautiful handbag — the changing mat, bottles, and milestone cards disappear inside. That was the whole brief: a diaper bag a mother is happy to carry long after the diaper years are over.
Want one in your colours?
We can make this diaper bag in any velvet or canvas shade, add name embroidery, or resize it to your routine. Every bag is made to order in our Kerala workshop.
New here? Read our overview of the whole process: How We Make a Custom Bag: From Sketch to Stitch