Step-by-step tutorial
Making a Striped Everyday Tote Bag: A Step-by-Step Tutorial
Published 13 July 2026 · 7 min read · LittleEva.in Workshop, Kannur, Kerala
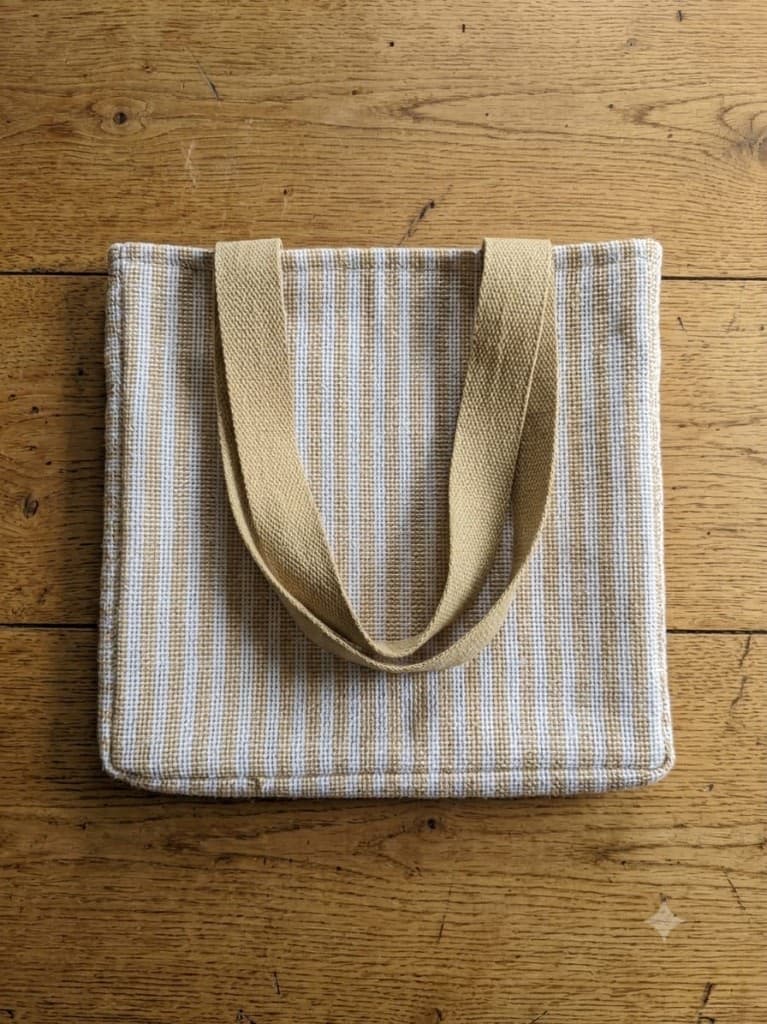
Not every bag needs zips, padding, and hardware. This everyday tote is the opposite of our velvet diaper bag — a simple, flat, squared tote in a handwoven jute-cotton stripe, with tan webbing handles and nothing to fuss over. It is the bag you grab for the market, a book and a water bottle, or a laptop and charger.
Simple does not mean careless, though. A loose handwoven fabric like this one is trickier to work with than it looks, and the crisp squared shape only happens with the right interfacing and patient topstitching. Here is how it comes together, photographed on our own worktable.
Watch the bag come together
A short video from our workshop showing this exact tote being made — from cutting the handwoven stripe to the final topstitch.
What goes into this bag
- Handwoven striped jute-cotton fabric for the outer body (a firm upholstery-weight weave)
- Plain cotton fabric for the lining
- Firm sew-in interfacing to give the flat, squared silhouette
- Tan cotton webbing for the two handles
- Stamped leather label, matching thread, chalk, shears, and fabric clips
1Choose and prepare the fabric
The character of this tote comes entirely from the cloth: a handwoven jute-cotton blend with a fine cream and sand stripe. The open weave gives it a beautiful rustic texture, but it also means the fabric frays the moment you cut it.
So preparation matters more than usual. The fabric is pressed flat, checked for weaving slubs we want to feature (or avoid) on the front panel, and every panel edge is overlocked immediately after cutting so the weave cannot unravel while we work.
2Draft the pattern and cut the panels
The tote is built from five pieces — front, back, two side gussets, and a base. With a striped fabric, the cutting rule is simple but unforgiving: the stripes must run dead straight on every panel, and the front and back must mirror each other so the stripes meet neatly at the side seams.
We chalk each piece following a single thread of the weave rather than a ruler line — on a handloom fabric the weave is the truth, not the selvedge.
3Interface the panels
On its own, this weave would make a floppy pouch. The flat, squared silhouette you see in the photos comes from a layer of firm sew-in interfacing behind every outer panel. It keeps the body standing, the corners sharp, and the stripes flat without turning the bag stiff as a board.
4Attach the webbing handles
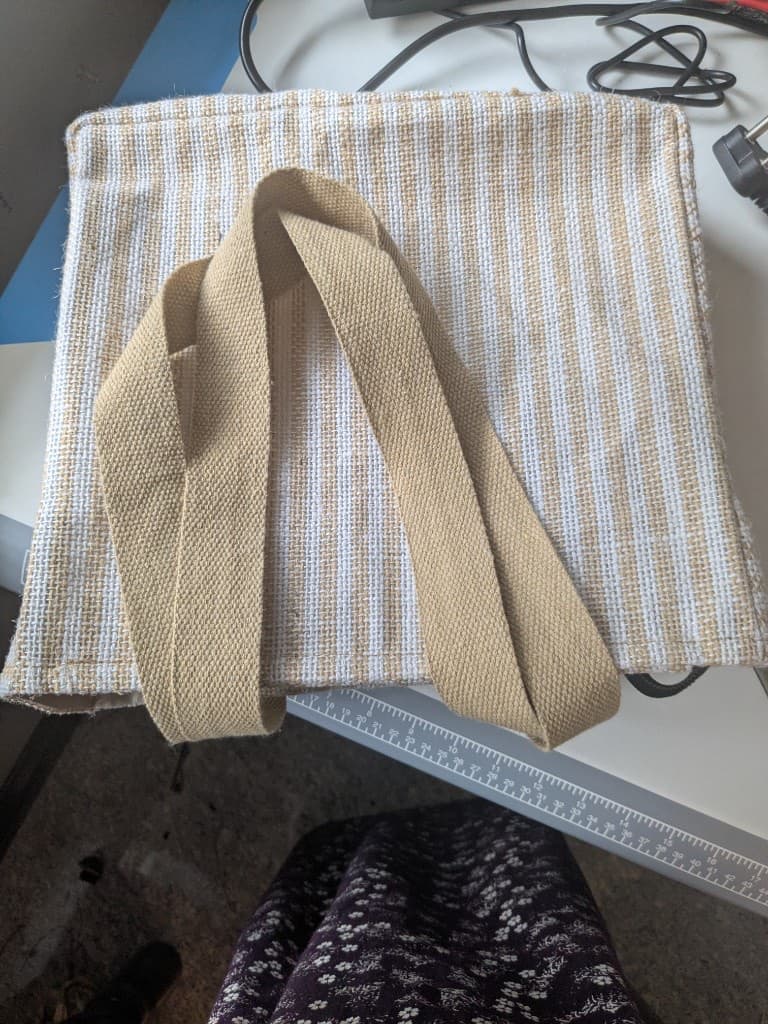
The handles are tan cotton webbing, chosen a shade deeper than the fabric so they read as a deliberate accent against the stripes. Each handle runs down the body panel, stitched along both edges of the webbing, then locked with box stitching at the rim — the point that takes the whole load when the bag is full.
Positioning is done with the stripes as a guide: the webbing sits exactly parallel to the stripe lines, which is the kind of detail nobody consciously notices but everyone feels.
5Assemble the body
Front and back are joined to the gussets and base with clips holding the layers — the interfacing makes the sandwich thick, and clips keep the stripes from creeping while sewing. Corners are squared, seams pressed open, and the shell is turned right side out through the top.
This is the moment we check stripe alignment at every seam. If a stripe steps even a couple of millimetres at a side seam, the seam is unpicked and resewn — on a striped bag there is nowhere to hide.
6Sew and drop in the lining
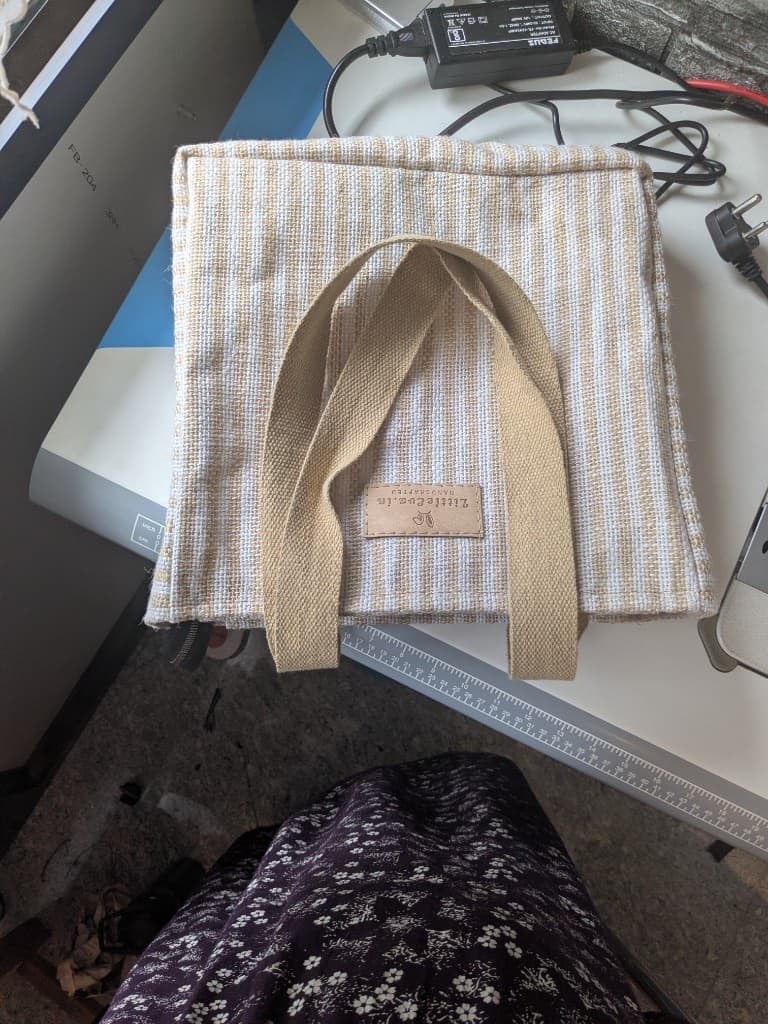
The lining is plain cotton, sewn as a second bag a touch smaller than the shell so it sits smoothly inside without bagging. We add a flat slip pocket for a phone and keys — the one piece of organisation an open tote really needs. The lining is stitched in around the top opening, closing every raw edge inside the bag.
7Topstitch the edges and finish
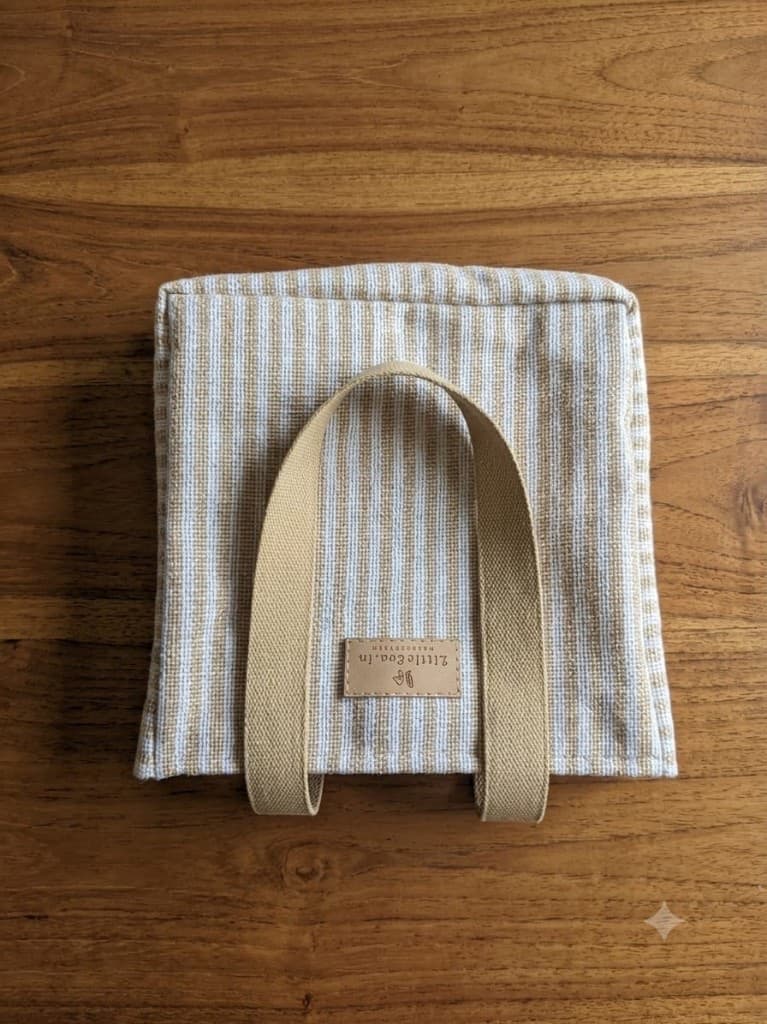
The finishing signature of this design is the edge topstitching — a neat row of stitching around the top hem and the perimeter of the body that flattens the edges and draws the crisp outline you see in the photos. Then the stamped leather LittleEva.in label goes on, threads are trimmed, and the bag gets its final press and the usual checks: seams, handle load, and shape.
8The result
A tote that packs flat, stands square, and carries daily weight on box-stitched handles — with all the texture of the handloom weave and none of its floppiness. Because the construction is this simple, it is also one of the easiest bags for us to customise: different stripe colours, a longer handle drop, or name embroidery on the front panel.
Want one in your colours?
We can make this tote in other handwoven stripes and solids, resize it for laptops or market runs, or add embroidery. Every bag is made to order in our Kerala workshop.
More from the workshop: Making a Velvet Diaper Bag · How We Make a Custom Bag